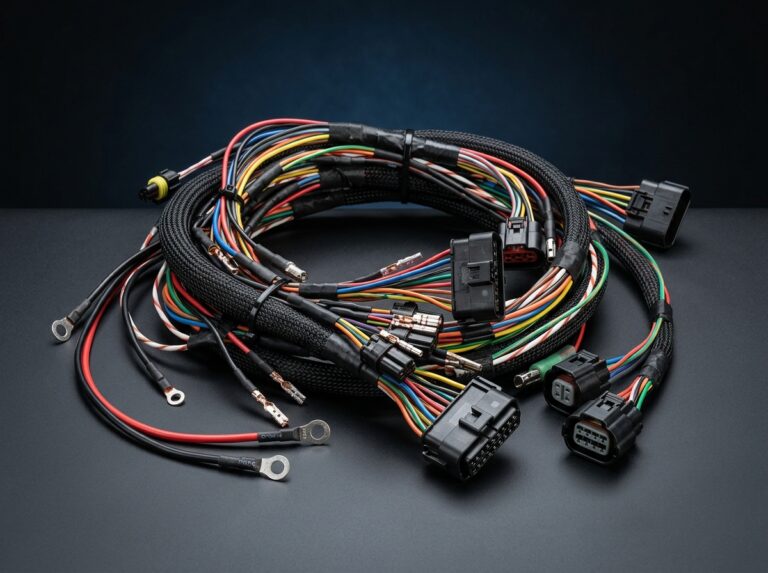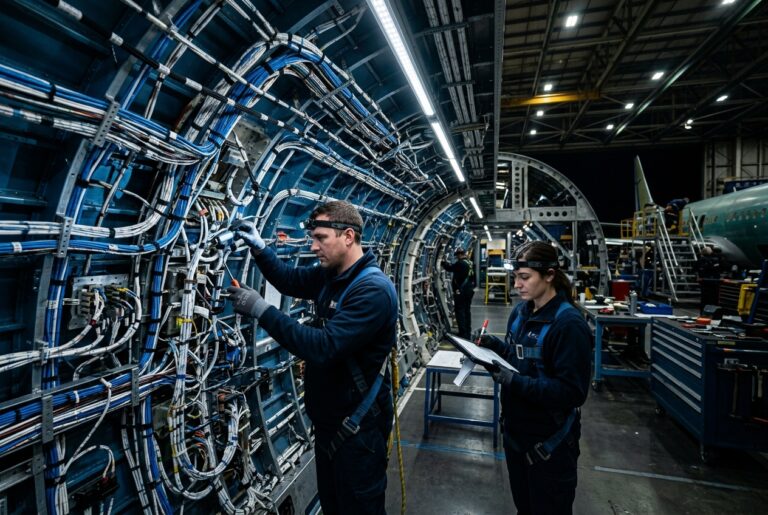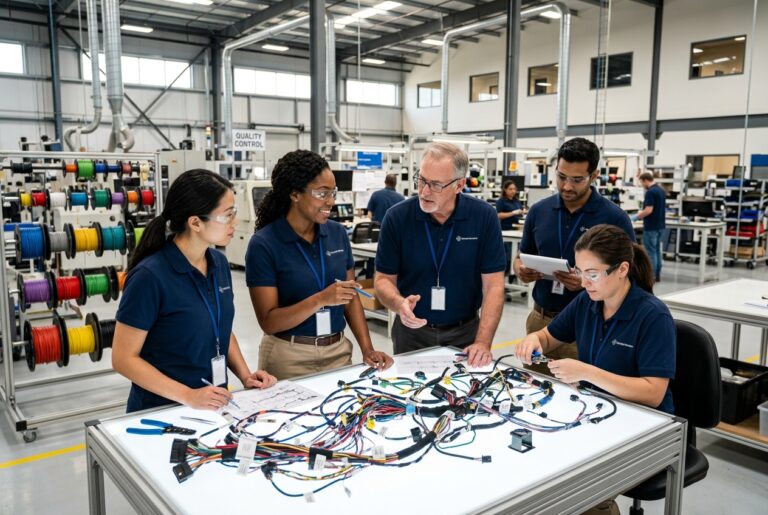
You cannot determine if a wire harness is good just by looking at it. A tiny sliver of copper bridging two pins, or a crimp that is slightly too loose, is completely invisible to the naked eye but can cause catastrophic failure in the field. This is why specialized wire harness testing equipment is the final, most critical step in the harness manufacturing process.
The Three Levels of Testing
Depending on the complexity and the end-use of the harness, manufacturers employ different levels of testing equipment:
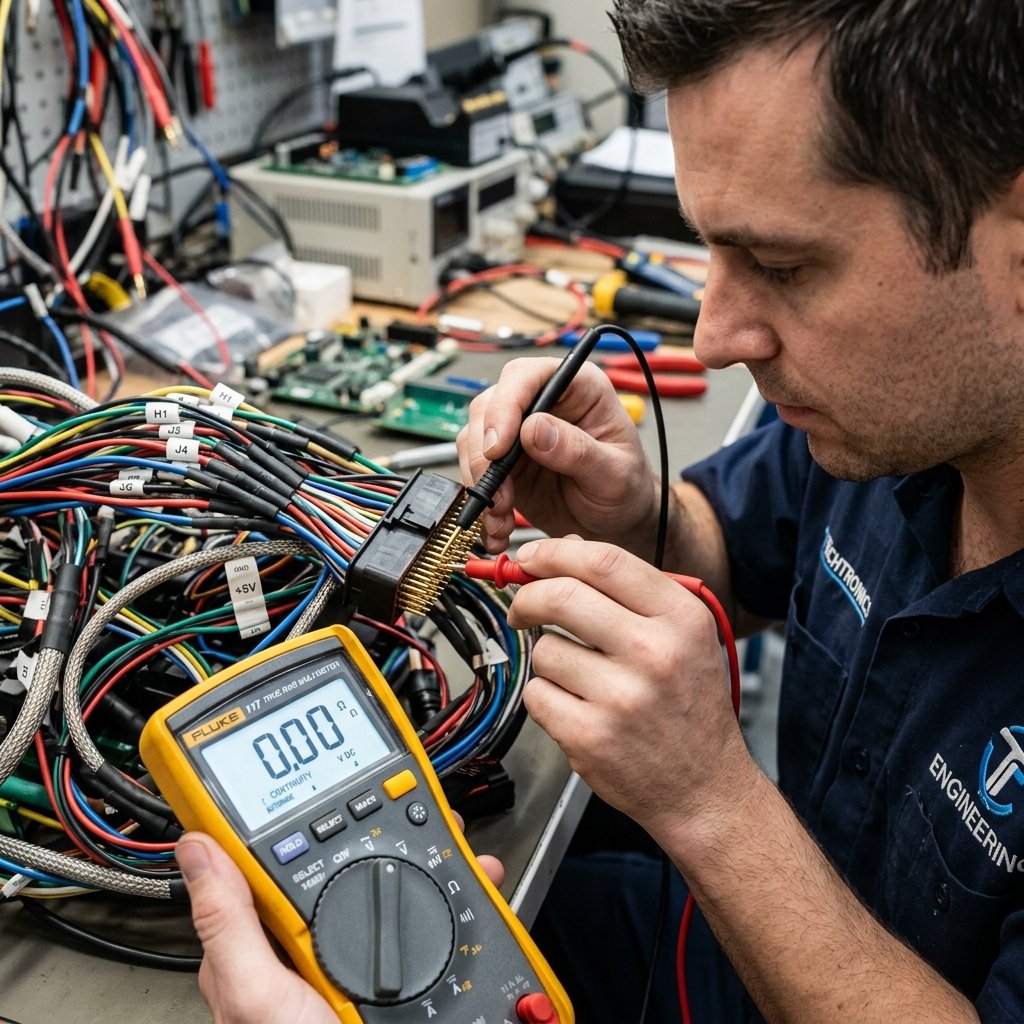
- Level 1: The Multimeter (Manual Testing). For one-off prototypes, engineers use a digital multimeter. By placing the probes on either end of a wire, they test for continuity (ensuring the wire isn’t broken) and resistance. It is effective but incredibly slow for harnesses with dozens of wires.
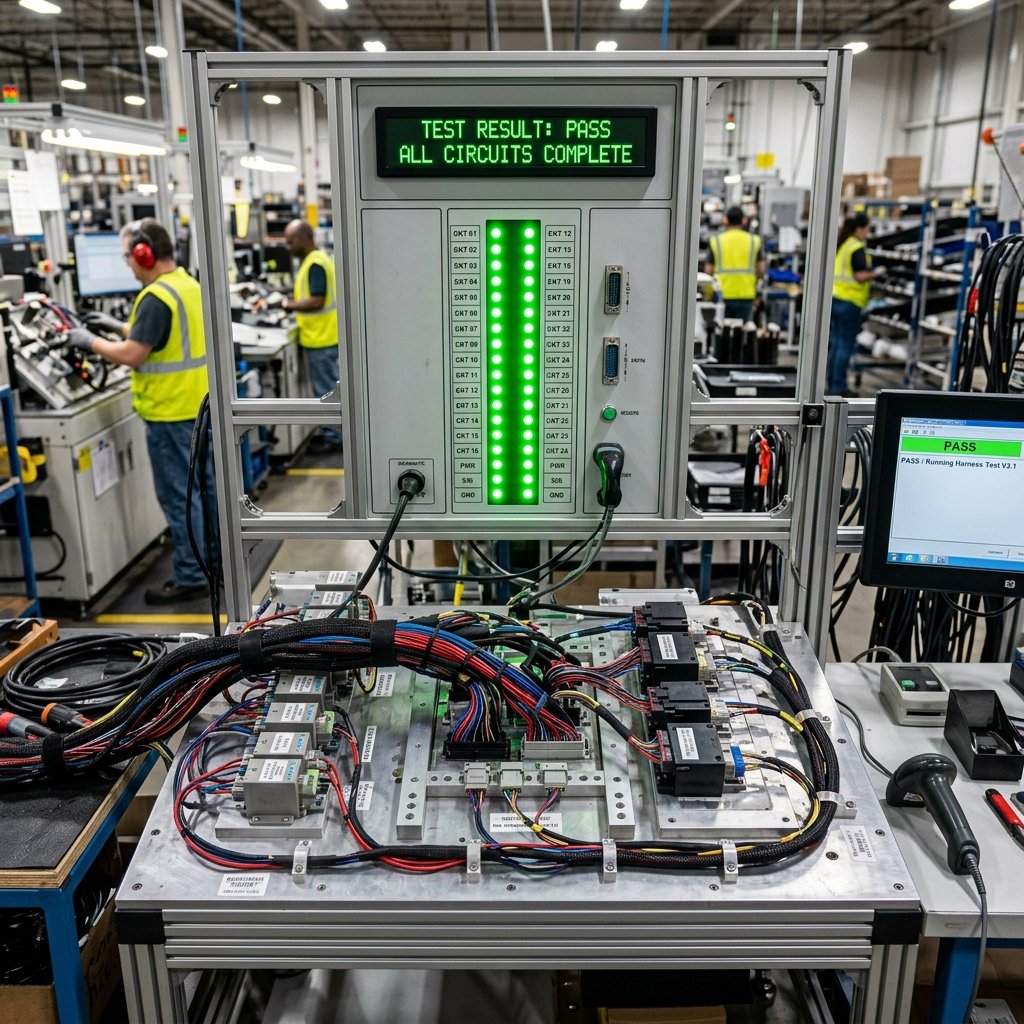
- Level 2: Automated Test Boards (Low Voltage). For production runs, harnesses are plugged into a computerized “mating fixture.” Within a fraction of a second, the computer sends low-voltage signals through every single pin combination to check for continuity, open circuits, and crossed wires (miswires).
- Level 3: Hipot Testers (High Voltage). “Hipot” stands for High Potential. These machines blast the harness with extremely high voltage (often 1000V to 1500V or more). Why? To test the insulation. If the insulation is scratched, or if the wire was damaged by extreme cold, the high voltage will “arc” (spark) through the weak spot, revealing a hidden defect that low voltage could never find.
How-To: Read a Test Board Result
If you are working on a factory floor with an automated test board, follow these steps to interpret the results:
- Connect the Harness: Plug all connectors on the harness into the corresponding mating blocks on the test board. Listen for the audible “click” to ensure they are fully seated.
- Initiate the Scan: Press the start button. The board will run its sequence in under a second.
- Check the Display: Look at the LED indicators. A solid GREEN light (or “PASS” on the LCD) means the harness is perfect. A RED light indicates a failure.
- Diagnose the Fault: If it fails, read the error code. “OPEN” means a wire is broken or not crimped properly. “SHORT” means two wires are touching. “MISWIRE” means a wire was pinned into the wrong cavity.
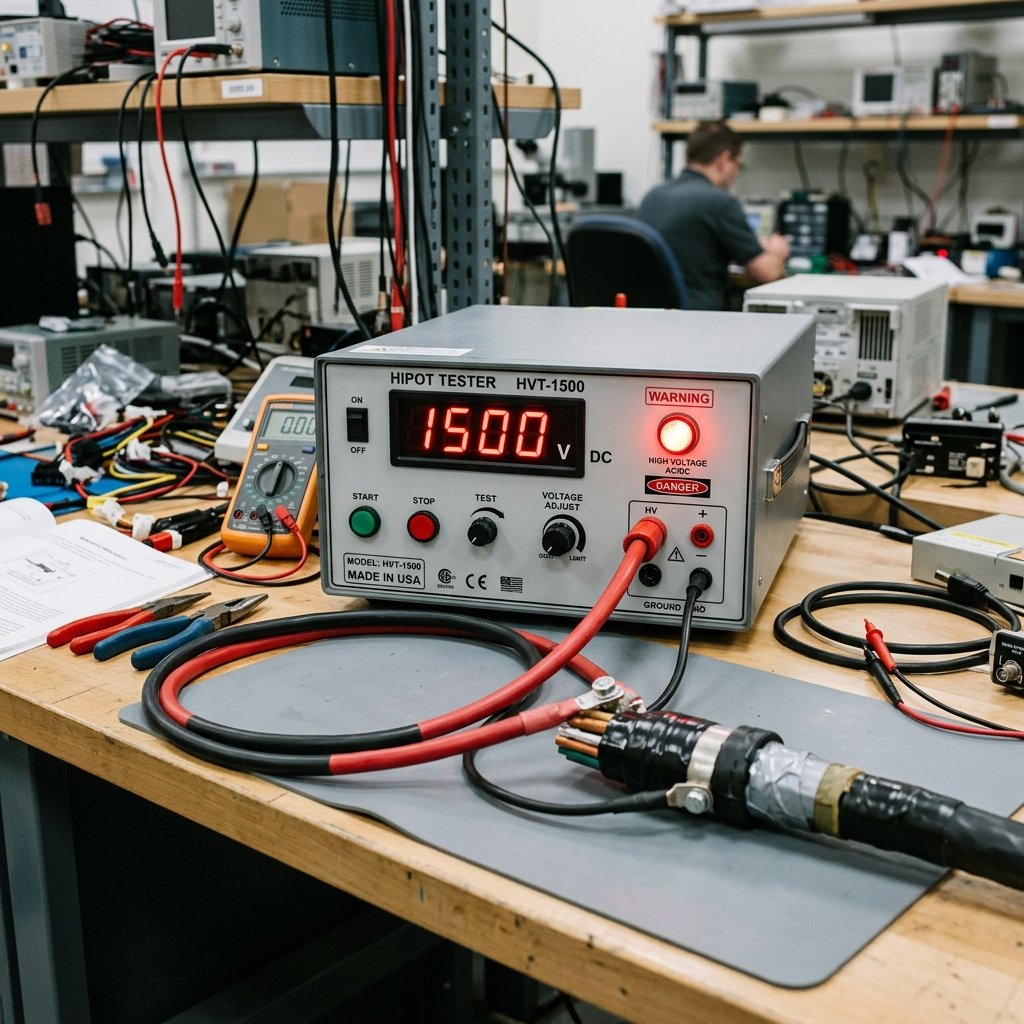
A basic wire harness testing toolkit typically starts with a digital multimeter for continuity and resistance checks, but more thorough validation calls for dedicated equipment. A hipot (dielectric withstand) tester applies a high voltage between conductors and ground to confirm insulation integrity, while a cable/harness tester with a breakout box can check dozens or hundreds of circuits against a programmed wiring diagram in a single automated cycle. For shops building harnesses at scale, investing in a dedicated harness tester pays for itself quickly by catching wiring errors before a harness ever reaches a customer.
For related reading, see our article on understanding the difference between stranded and solid wires. You can also learn more about our quality control process. These practices are consistent with standards such as ISO 9001.
Frequently Asked Questions
Yes. Hipot machines generate lethal amounts of voltage. They must only be operated by trained personnel, and modern testers have safety interlocks that immediately shut off power if an operator’s hand gets too close to the test area.
Absolutely not. Visual inspections are important for checking tape wrapping, routing, and label placement, but human eyes cannot see inside a plastic connector to verify if a terminal is fully seated or if a microscopic short exists.
Basic benchtop continuity testers start around $1,500, while large, custom-built computerized fixtures for complex aerospace or automotive harnesses can cost tens of thousands of dollars to design and build.