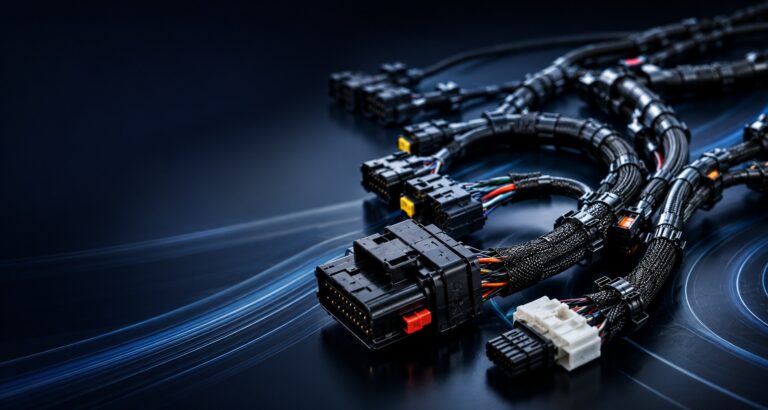
When a wire harness fails, the vast majority of the time, the failure point is not the wire itself, but the connection at the end of the wire. Mastering proper wire crimping techniques is the single most important skill in wire harness manufacturing.
Unlike soldering, which can become brittle and crack under vibration, a proper mechanical crimp creates a “cold weld” – a bond so tight that oxygen cannot penetrate it, rendering it impervious to corrosion and incredibly strong.

The Anatomy of a Perfect Crimp
Most open-barrel terminals used in professional wire harnesses feature two distinct crimp zones:
- The Conductor Crimp: This is the front part of the terminal that folds over the bare copper strands. In a perfect “F-crimp” or “B-crimp,” the metal wings of the terminal curl inward and drive down into the center of the copper strands, compressing them into a solid mass with zero air gaps.
- The Insulation Crimp: This is the rear part of the terminal that folds over the plastic wire insulation. Its sole purpose is strain relief. It grips the plastic to ensure that if the wire is pulled, the stress is distributed to the tough plastic, not the fragile copper strands.
Identifying Crimp Defects
Quality control in wire harness manufacturing heavily relies on visual inspection of crimps. Here is what separates a pass from a fail.
A failed crimp usually exhibits one of the following defects:
- Stray Strands: One or two tiny copper strands missed the terminal barrel and are sticking out. These can easily touch a neighboring pin and cause a dead short.
- Under-Crimped: The crimper tool was not squeezed hard enough. The wire is loose and can be pulled out with a gentle tug.
- Over-Crimped: The crimper tool crushed the terminal too aggressively, often cutting through the copper strands and weakening the overall connection.
- Insulation in the Conductor Crimp: The wire wasn’t stripped far enough, and the plastic insulation got caught in the front crimp area, creating massive electrical resistance.
How-To: Crimp a Wire Like a Professional
To achieve an aerospace-grade connection, you need the right tools and the right process:
- Strip the Wire: Use precision wire strippers to remove exactly the right amount of insulation (usually about 4-5mm). Do not nick or cut any of the underlying copper strands.
- Position the Terminal: Place the bare metal terminal into the correct jaw slot of a ratcheting crimper tool. (Never use cheap, non-ratcheting pliers).
- Insert and Squeeze: Slide the stripped wire into the terminal until the bare copper is in the front zone and the insulation is in the rear zone. Squeeze the ratcheting tool until it clicks and automatically releases.
- The Tug Test: Give the wire a firm tug. A proper crimp should easily withstand 15+ pounds of pull force without budging.
- Related reading: Learn more about wire gauge
For related reading, see our article on how to choose the right wire harness manufacturer for your project. You can also learn more about our manufacturing capabilities. These practices are consistent with standards such as ISO 9001.
Precision crimping is essential in fine-pitch, signal-sensitive builds such as our EMI-Shielded Sensor & Encoder Cable Assemblies.
Frequently Asked Questions
A ratcheting crimper is mandatory for quality control because it will not release its jaws until the exact, mathematically calculated amount of pressure has been applied. It eliminates human error and guarantees a consistent, repeatable crimp every single time.
In high-vibration environments (automotive, aerospace, industrial), crimping is universally preferred. Solder wicks up the wire strands, creating a hard, inflexible point that is highly susceptible to cracking under vibration. A good crimp remains flexible.
Generally, no. Standard wire harness terminals are designed specifically to bite into and compress stranded wire. Applying a crimp terminal to a solid wire usually results in a loose connection that will easily pull apart.