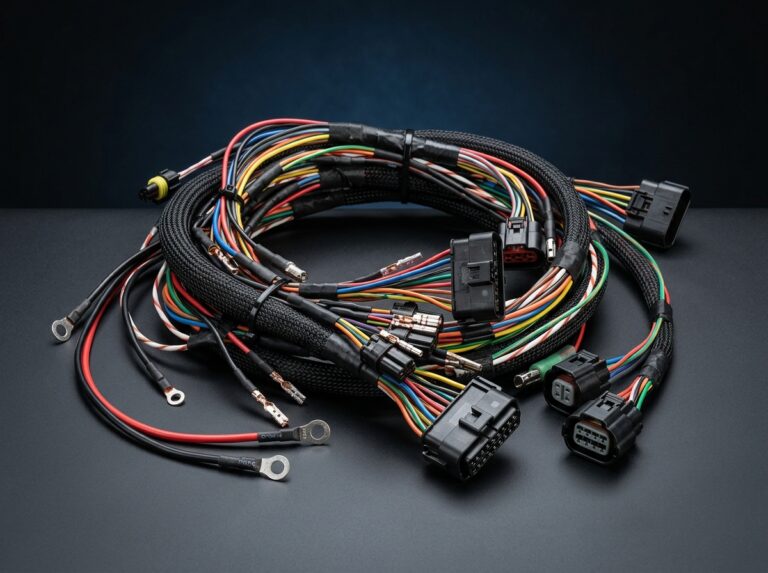
A wiring harness is the nervous system of any modern machine. Whether it is installed in an automobile, an airplane, or an industrial robot, a single faulty connection can lead to catastrophic failure. Because custom wiring harnesses can contain hundreds of individual circuits, rigorous quality control is mandatory. Here is a comprehensive guide to testing complex wire harness assemblies before they leave the manufacturing floor.
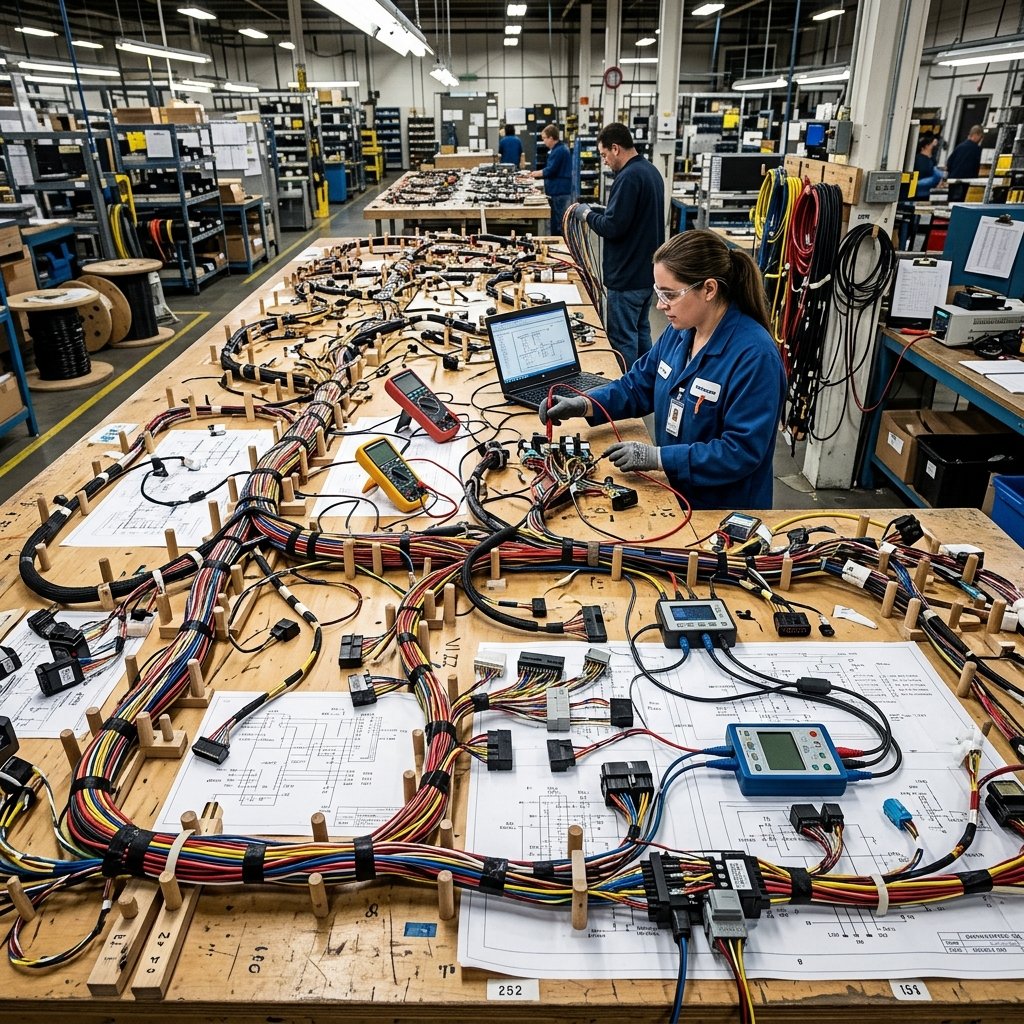
Step 1: Visual and Mechanical Inspection
Before any electrical current is applied, the harness undergoes a strict visual inspection on a formboard. Technicians verify that the overall length, branch points, and routing match the engineering blueprint exactly. They also mechanically pull on the terminals (a “pull test”) to ensure the crimps are physically secure and will not dislodge under vibration.
Step 2: Basic Continuity Testing
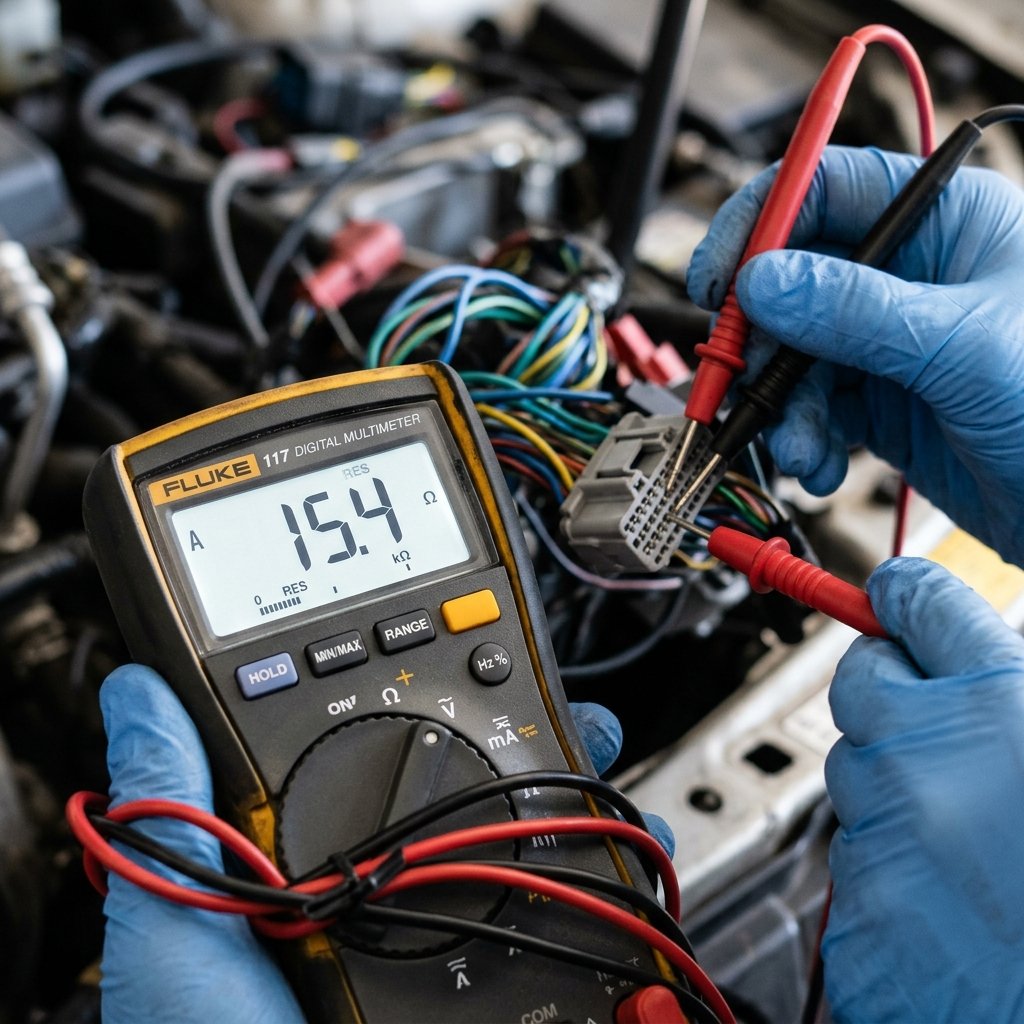
The most fundamental electrical test is verifying that electricity can flow from point A to point B without interruption. For simple harnesses, a technician might manually test a wire harness for continuity and shorts using a digital multimeter.
However, for a complex assembly with hundreds of pins, doing this manually is impossible. Instead, the harness is plugged into a mating test board that automatically sweeps a low-voltage signal across every single pin, ensuring there are no open circuits (broken wires) and no short circuits (wires accidentally touching each other).
Step 3: Advanced Hi-Pot and Insulation Resistance Testing
While a continuity test ensures the wire is connected, it doesn’t guarantee the safety of the insulation. This is where advanced wire harness testing equipment like a Hi-Pot (High Potential) tester comes in.
During a Hi-Pot test, the automated machine injects a very high voltage (often over 1000V) into the wires. The system measures the “leakage current” that escapes through the insulation to adjacent wires or the ground. If the insulation is nicked, cracked, or simply too thin for the voltage rating, the machine will detect the leak and instantly fail the harness, preventing a future short circuit or electrical fire in the field.
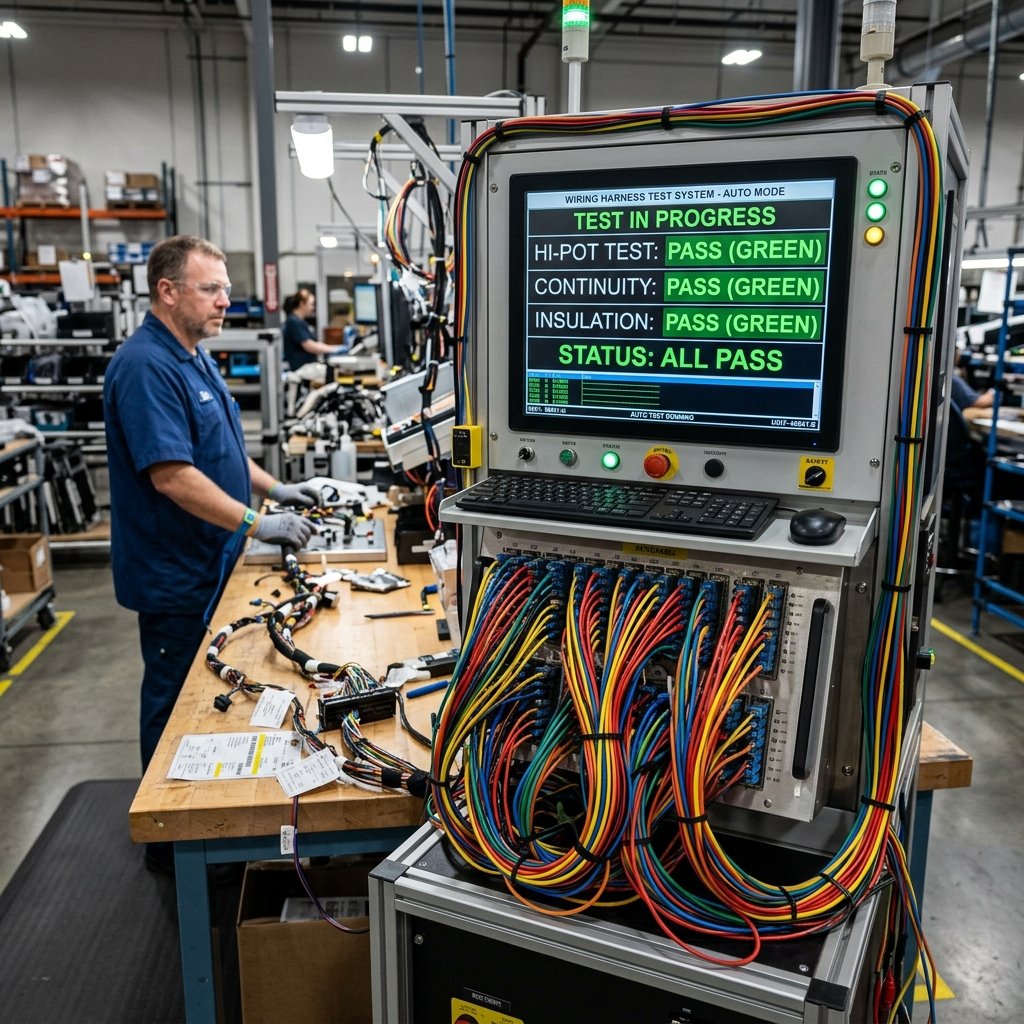
A complete test plan for a complex harness assembly typically layers several test types rather than relying on just one. Continuity testing confirms every circuit is connected to the correct pin, hipot testing verifies insulation can withstand rated voltage without breakdown, and insulation resistance testing checks for degraded or damaged wire coating that continuity alone would miss. For harnesses with many branches and connectors, automated test fixtures are often used to run all of these checks in a single cycle, which both speeds up production and reduces the chance of a missed connection slipping through manual testing.
For related reading, see our article on how to properly document and label your wire harness assemblies. You can also learn more about our quality control process. These practices are consistent with standards such as ISO 9001.
Frequently Asked Questions
A continuity test uses a very low voltage to confirm that a wire is properly connected from end to end. A Hi-Pot test uses a dangerously high voltage to stress-test the plastic insulation surrounding the wire, ensuring it won’t leak current under load.
Yes. Many modern automated testers feature a continuous scanning mode. While the tester is running, technicians will physically shake or flex the harness. If a loose crimp temporarily loses contact for even a millisecond, the machine will catch the intermittent fault.
In aerospace, medical, and automotive industries, 100% end-of-line electrical testing is an absolute requirement. No harness ships without passing a computerized test.