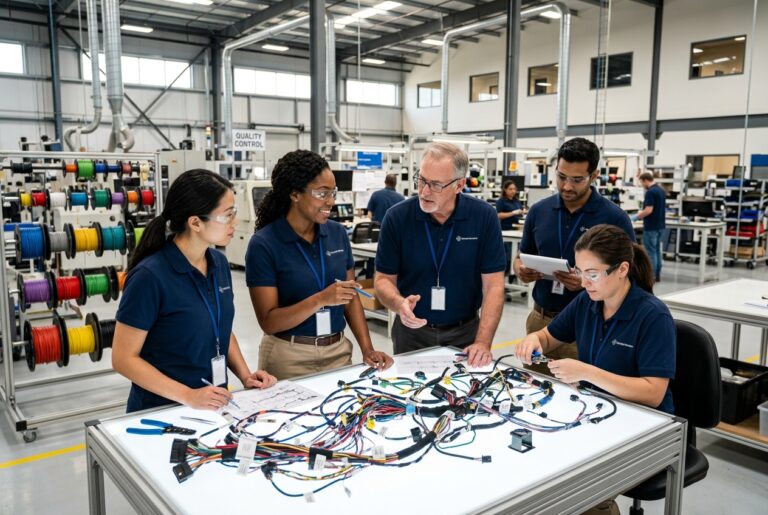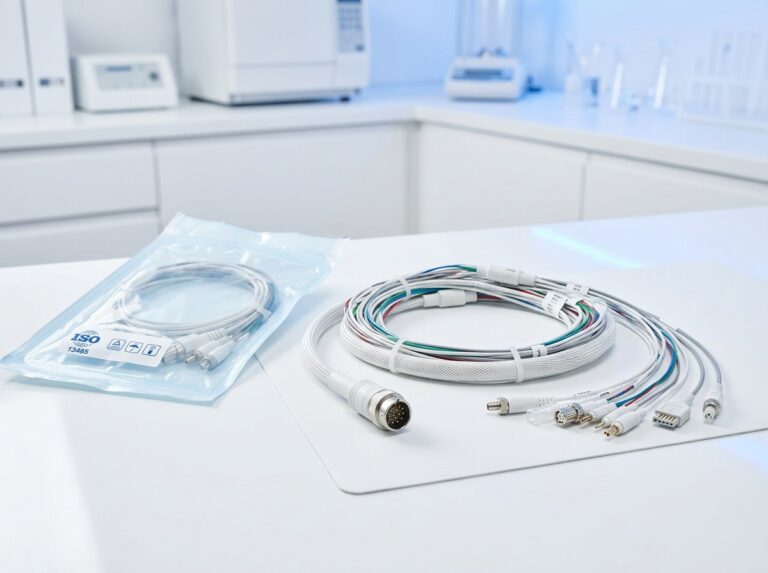
Whether you are installing an aftermarket stereo, adding auxiliary off-road lights, or learning how to safely repair a burnt wire in an automotive harness, knowing how to join two wires together is a fundamental skill. A bad splice will cause excessive resistance, intermittent electrical faults, or even a vehicle fire. Here is the definitive guide on how to properly splice wires in an automotive harness.
Step 1: The Western Union Splice
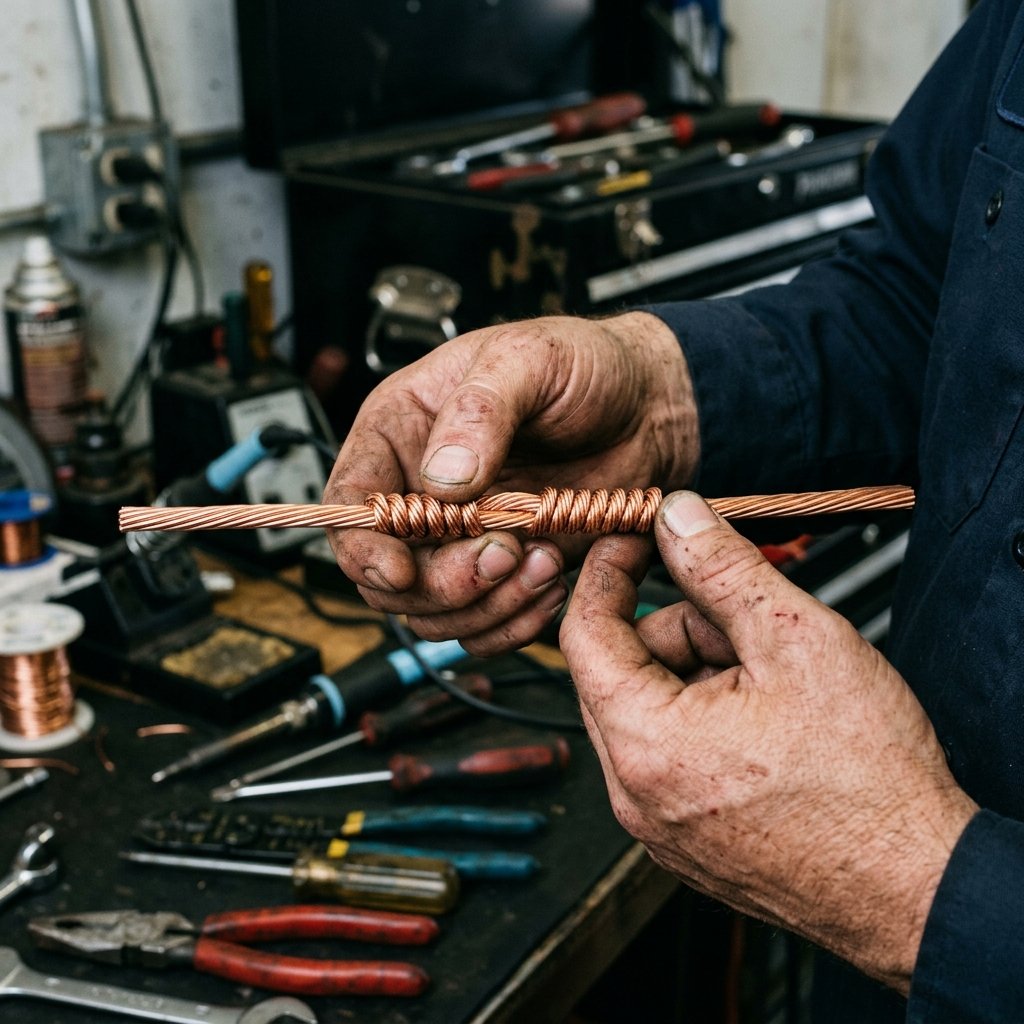
Before you even think about applying solder, the wires must be mechanically secure. The gold standard for inline wire splicing is the Western Union (or Lineman’s) splice.
- Strip roughly 3/4 inch of insulation off both wire ends.
- Cross the two bare wires in the middle of the stripped sections, creating an “X”.
- Twist one wire tightly around the other in a spiraling motion, wrapping it at least three or four times.
- Repeat the process with the other wire in the opposite direction. The result should be a tight, low-profile, interlocking joint that is incredibly strong even before soldering.
Step 2: Soldering the Joint
While proper wire crimping techniques are excellent, a properly soldered Western Union splice is unmatched for permanent electrical conductivity and corrosion resistance.
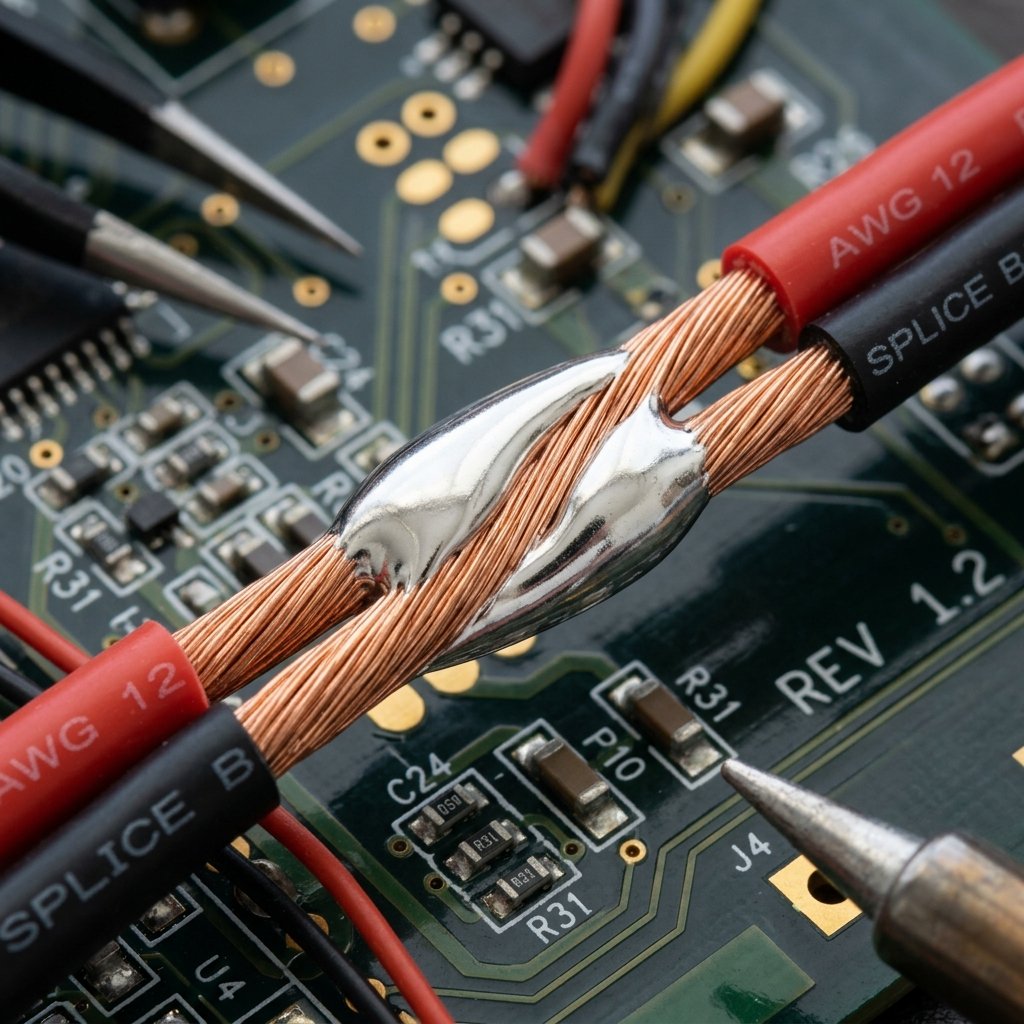
- Heat up your soldering iron and “tin” the tip with a small amount of rosin-core electrical solder.
- Hold the hot iron against the bottom of the copper wire splice. Let the copper heat up for a few seconds.
- Apply the solder from the top of the wire, opposite the iron. The heat of the wire itself should melt the solder, pulling it down into the copper strands via capillary action.
- Remove the heat and let it cool undisturbed. A perfect solder joint should look smooth, shiny, and concave.
Step 3: Sealing the Splice
An exposed copper splice in an engine bay will quickly corrode due to moisture, road salt, and oil. You must seal it properly. Never use cheap vinyl electrical tape, as it will unravel in high heat.
- Before twisting the wires in Step 1, slide a piece of marine-grade, dual-wall, adhesive-lined heat shrink tubing over one of the wires.
- Once the solder joint has completely cooled, slide the tubing over the center of the splice.
- Use a heat gun to shrink the tubing. This is how heat shrink tubing protects your wiring harness connections: as the outer wall shrinks, the inner adhesive layer melts and oozes out the sides, creating a permanent, 100% waterproof seal.
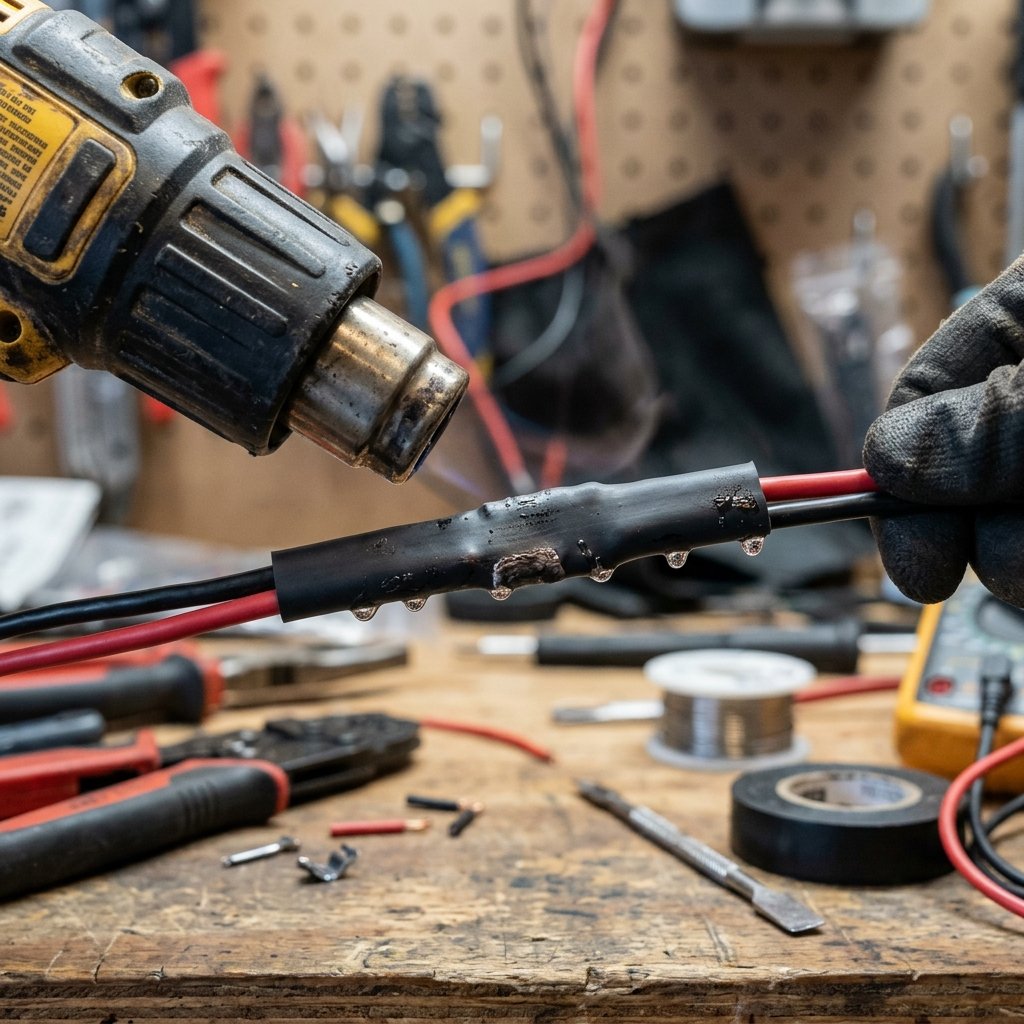
Not every splice repair calls for the same technique, and choosing the wrong one can compromise both the electrical connection and the harness’s long-term durability. Butt connectors are fast and adequate for low-vibration, indoor applications, but for anything exposed to vibration or moisture, a soldered joint sealed with adhesive-lined heat shrink offers a far more reliable, corrosion-resistant repair. Whichever method is used, the finished splice should be tested for continuity and, where possible, inspected for consistent insulation coverage before the harness is returned to service.
Quick Step Guide
-
The Western Union Splice
Before you even think about applying solder, the wires must be mechanically secure. The gold standard for inline wire splicing is the Western Union (or Lineman’s) splice.
-
Soldering the Joint
While proper wire crimping techniques are excellent, a properly soldered Western Union splice is unmatched for permanent electrical conductivity and corrosion resistance.
-
Sealing the Splice
An exposed copper splice in an engine bay will quickly corrode due to moisture, road salt, and oil. You must seal it properly. Never use cheap vinyl electrical tape, as it will unravel in high heat.
For related reading, see our article on what is the difference between primary and secondary wire insulation?. You can also learn more about automotive wire harness solutions. These practices are consistent with standards such as IATF 16949.
Frequently Asked Questions
Absolutely not. Twisting without interlocking (like a pigtail) and taping is highly prone to pulling apart under vibration. Tape also loses its stickiness when exposed to automotive fluids and engine heat.
Both are acceptable if done correctly. Crimping is faster and generally preferred in extreme vibration environments (like aerospace) because solder can make the wire rigid and prone to cracking just behind the joint. However, for most automotive DIY repairs, a properly soldered and heat-shrinked Western Union splice is incredibly reliable.
Always use rosin-core solder designed for electronics (typically a 60/40 tin-lead or a lead-free equivalent). Never use acid-core solder (used for plumbing), as it will aggressively corrode your electrical wires.