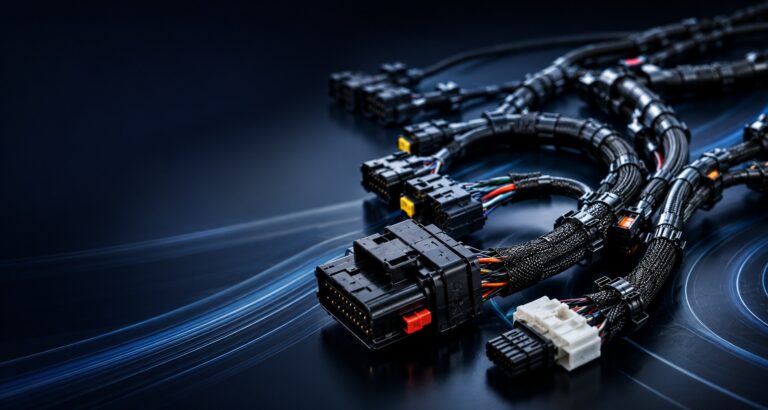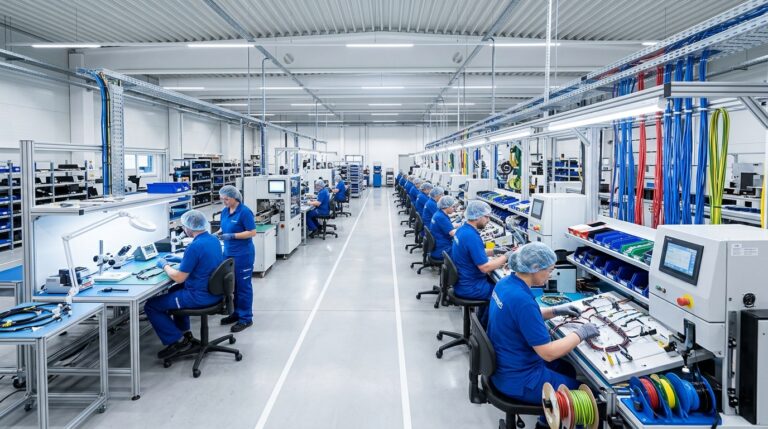
Despite the rapid rise of automation in almost every industrial sector, the wire harness manufacturing process remains a fascinating blend of high-tech machinery and meticulous manual labor. Because custom harnesses must snake through incredibly tight spaces and specific geometries, full automation is often impossible.
Whether it is destined for a commercial jet or a washing machine, every wire harness goes through a remarkably similar journey. Let’s take a step-by-step look at how raw spools of wire are transformed into complex electrical backbones.
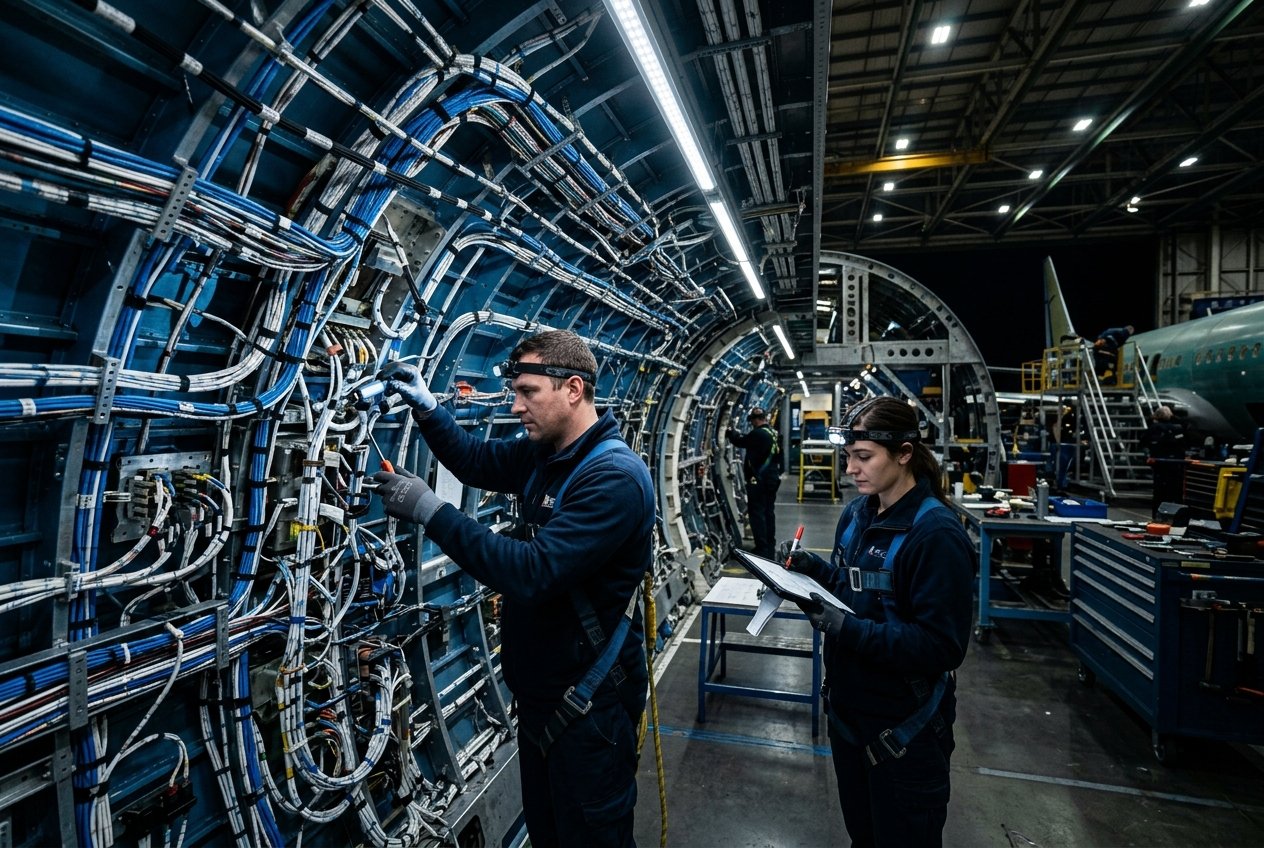
Step 1: Wire Cutting and Stripping
The manufacturing process begins in the cutting department. Here, large spools of insulated copper wire are fed into highly precise automated cutting machines.
Based on the exact specifications from the CAD (Computer-Aided Design) blueprints, the machine measures and cuts the wire to the exact millimeter. Simultaneously, the machine carefully strips a specific length of the plastic insulation off both ends of the wire, exposing the raw copper strands without nicking them. This exposed copper is what will eventually carry the electrical current.
Step 2: Terminal Crimping
Once the wire is cut and stripped, it moves to the crimping station. A terminal (the metal contact that will plug into a connector) must be attached to the exposed copper strands. This is almost always done via a mechanical press.
The crimping press applies thousands of pounds of pressure to fold the metal “wings” of the terminal tightly around the copper core, and another set of wings around the plastic insulation (for strain relief). A perfect crimp is essentially a “cold weld,” ensuring a completely solid electrical connection with zero gaps for moisture to enter.
Step 3: Routing on the Pin Board
This is where the magic of human dexterity takes over. All the individually cut and crimped wires are brought to a large wooden or metal assembly board (often called a pin board or routing board).
This board features a full-scale schematic drawing of the harness, with metal pegs outlining the exact physical paths the wires must take. Assembly workers, following strict color-coding rules, carefully route each wire around the pegs, grouping them into main trunks and smaller branch lines.
Step 4: Inserting Connectors and Bundling
As the wires are routed, the crimped terminals at the ends of the wires are pushed into their corresponding plastic connector housings. They click securely into place, creating the final “plug.”
Once all wires are routed and connected, the entire harness is bundled together. Depending on the application, workers will wrap the bundle in TESA tape, secure it with zip ties, or slide it into braided nylon sleeving to protect the wires from abrasion and heat.
Step 5: Rigorous Quality Testing
Before a harness ever leaves the factory floor, it must be electrically tested. The entire completed harness is plugged into a computerized testing board. This computer instantly sends tiny electrical currents through every single wire to ensure:
- Continuity: The electricity successfully makes it from point A to point B.
- No Shorts: No wire is accidentally touching another wire.
- Correct Pinning: The red wire actually goes to pin #1, and the blue wire to pin #2, exactly as designed.
For related reading, see our article on how to read and understand a basic wire harness schematic. You can also learn more about industrial wire harness solutions. These practices are consistent with standards such as UL certification.
Every one of these production steps feeds into finished assemblies such as our Industrial Automation Control Cable Assemblies.
Frequently Asked Questions
While robots excel at repetitive tasks like cutting and crimping, routing soft, flexible wires in three dimensions and inserting tiny pins into complex housings requires a level of tactile feedback and dexterity that current robotics simply cannot match cost-effectively.
A pull test is a quality control measure done during the crimping phase. A machine literally pulls on the terminal to see how much force it takes to rip it off the wire. If it pulls off too easily, the crimping press must be recalibrated.
Yes. The final electrical test is crucial. Even if the wire was cut perfectly, an operator might have accidentally inserted a terminal into the wrong slot on a connector, which could cause a catastrophic failure in the final product.